

How To Clean Car Door Rubber Seals
If you follow me on Twitter or have seen previous posts on this blog, you will know that for about as long as I've owned my SEAT Leon, I have had issues with moisture getting inside the car. For the most part, I have now solved that, by addressing the main problem areas. The one thing I haven't yet done is to clean the rubber door seals. Dirt and moss will often accumulate on, around, and inside of these seals, reducing their effectiveness.
Parking your car outside in Britain means it is frequently going to get wet, and when it routinely sits it in a place with little sun, as mine does when it is parked on the drive of a more north-facing house, that moisture does not dry up, feeding the growth of moss. If I'm honest, the problem is compounded by the fact that I don't wash the Leon enough.

Moss is visible along the seals here.

Moss is visible along the seals here.
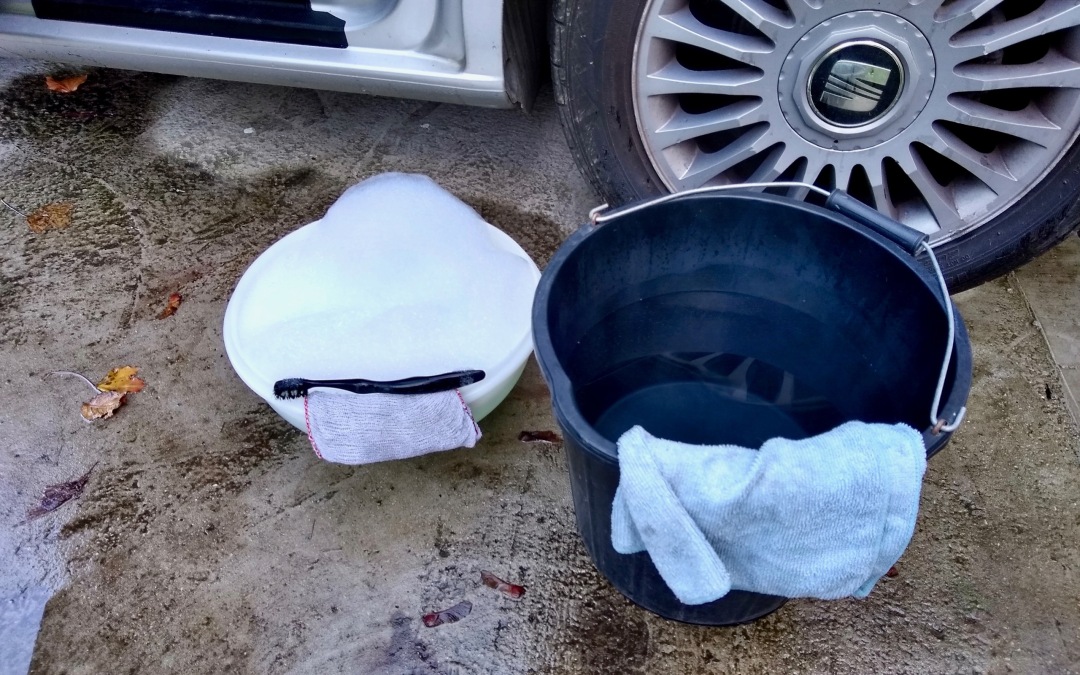
In addition to a loss of efficiency in the seal, an accumulation of dirt and moss in the rubber door seals can break them down, so it is a good idea to keep them clean. The good news is that cleaning them out is simple and straightforward. All you need are some soapy water (use dish soap, as it has stronger detergents), a rag and toothbrush, and a means of rinsing everything off.
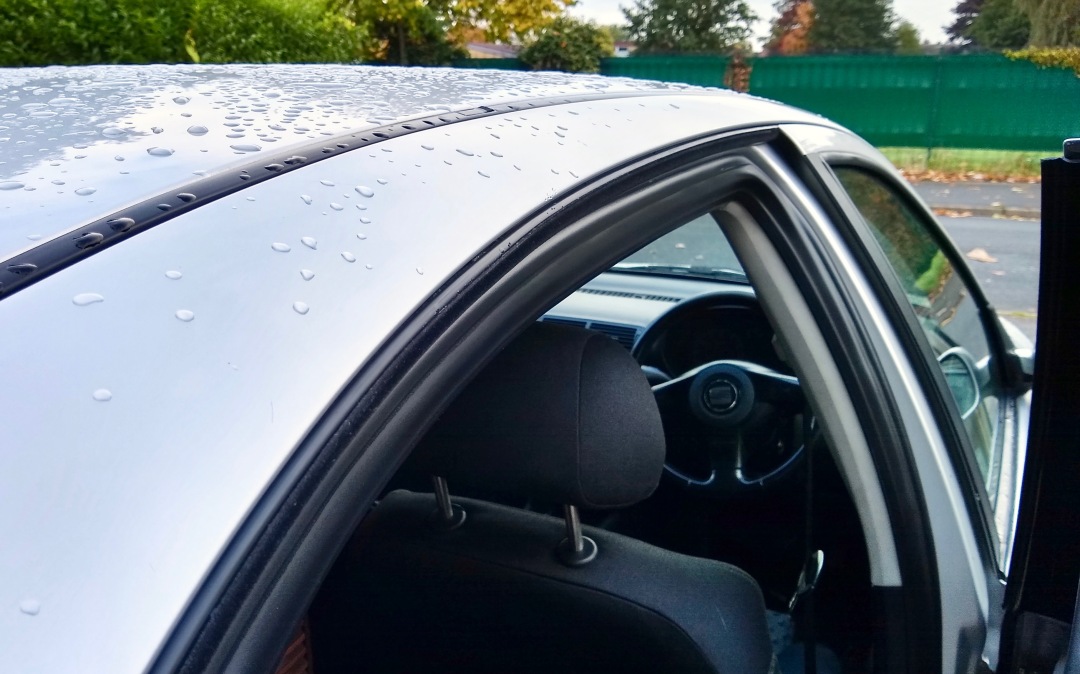
There are a number of different seals around the doors. The easiest ones to clean are the ones that go around the inside of the door frame. Unless you've left the doors wide open for months at a time (in which case, you will have much bigger problems), simply wipe them down. The trickier ones are at the top of the door frame, which have a bit of a flap designed to catch water running off the roof in order to send it down the edge of the door frame. These trap dirt inside, and so require more work to clean.
I found that the easiest way to do this was to take a more textured rag, soak it in soapy water, and get a finger inside the flap of the seal. Then slowly work your way along the length of the seal, taking out as much dirt as you can. If you have not done this before, there will likely be quite a bit in there, as you can see on the photo of my rag below. You will need to do this a few times to get it perfectly clean.

Wrap the rag round your finger, and run it along the inside of the flap.

This was all trapped inside the flap above the passenger's door.
Moss can also grow where the seal meets the body of the car. To get at this, I took a soft-bristled toothbrush soaked in soapy water and was able to brush the dirt and moss away. As this is a cheap car, I am less fussy about the paint, but I found that the soft-bristled brush didn't leave any marks at all. Again, you will need to work along the length of the seal a few times to get it clean. Once you have removed the dirt, close the door, and rinse everything off. A hose would be the easiest way to do this, but you can also soak a rag in clean water and just splash water along the seals. You can see below how it nicely rinsed out the remaining dirt and moss.

Get the bristles of the toothbrush lodged between the seal and the body of the car.

I splashed a rag soaked in water along the seals to rinse everything off.

Here you can see the moss and dirt I brushed clean running off as I rinsed the seals.
The seals on the outside of the door require attention as well. The toothbrush is your friend here, both for brushing moss off where the seal meets the window, and to get at the inside of the seal around the edge of the window opening. With the latter, try and get a fingernail underneath the seal and pull it back enough to get some of the bristles in, and then scrub it clean. Give it all a good rinse when you're done.

Use the brush around the windows.

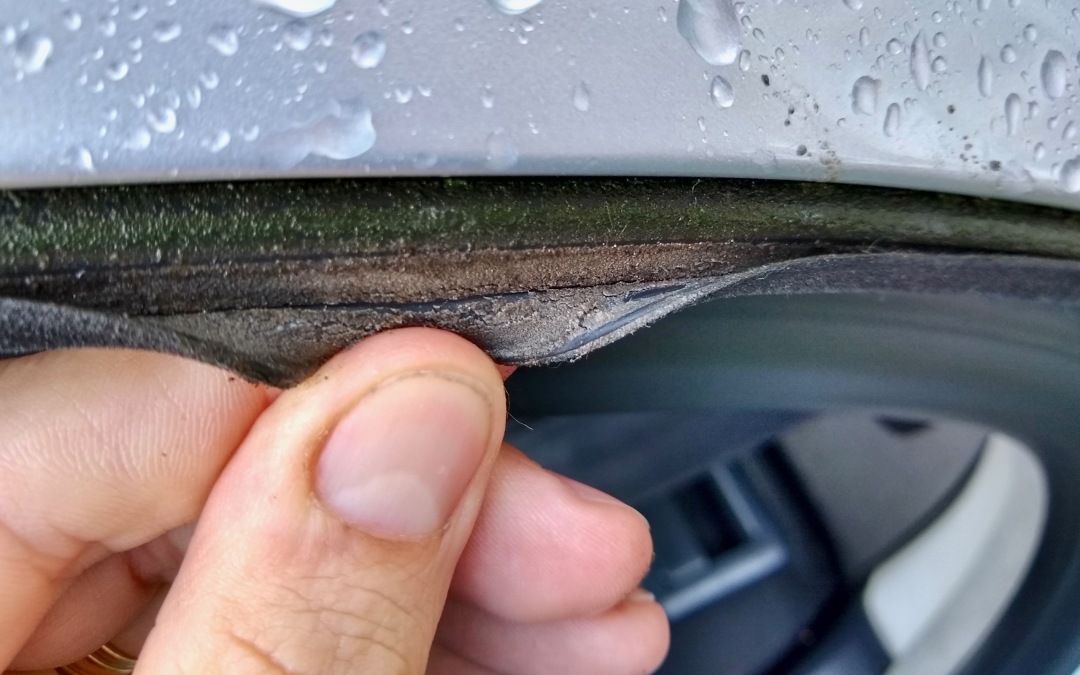
These seals cling more tightly to the bodywork, so yet a fingernail underneath to pull it back and get your toothbrush in.
I carried out the same procedure on most of the crevices around the car, including the hatch and the windscreen, the two channels running the length of the roof, and around the headlamps and tail lights. You can see below where moss had grown along the top of the windscreen, and how much cleaner it was after I removed it.

Notice the moss along the top of the windscreen…

…and how much cleaner it looks here.
Once the seals are clean, you will want to condition them. This keeps them supple so they seal properly, and should help prevent moss from growing too quickly again. There are a number of different products you could use to do this. A German product called Gummi Pflege seems to come highly recommended, but as I already had a bottle of Autoglym's Vinyl and Rubber Care on hand, I used that instead. It will get a bit messy, but spray it on liberally, and wipe it over all the seals. Don't worry about overspray at this point (you can wash the car later), because you are just focused on getting the seals thoroughly moisturised. I left the doors open for about an hour to let the solution penetrate and dry. If you want to go one step further, someone on Twitter recommended applying a solution that actively stops moss and algae from growing again.

Spray the solution liberally over all the seals.

Use a rag to ensure the solution covers all the seals.

Do the exterior seals too, and don't worry about overspray. You can wash the car later.
In the end, it took me about two hours to clean and condition all the seals around the car. Considering the fact that the moss was not too readily apparent unless you looked closely, I was surprised at how much better the car already looked with the seals cleaned. And while the photo below isn't the greatest, it gives you an idea of how much healthier the seals themselves look.
It will be much easier to keep on top of them now too, and should help rectify any of the remaining issues with the doors not sealing properly.
How To Clean Car Door Rubber Seals
Source: https://jakebeldercars.wordpress.com/2019/10/19/how-to-clean-dirt-and-moss-from-your-door-seals/
Posted by: haynesshols1954.blogspot.com
0 Response to "How To Clean Car Door Rubber Seals"
Post a Comment